5 Cool DIY Kitchen Projects (with Instructions)

5 DIY Simple Space Saving Ideas (with Instructions)
October 26, 20185 Cool DIY Kitchen Projects (with Instructions)
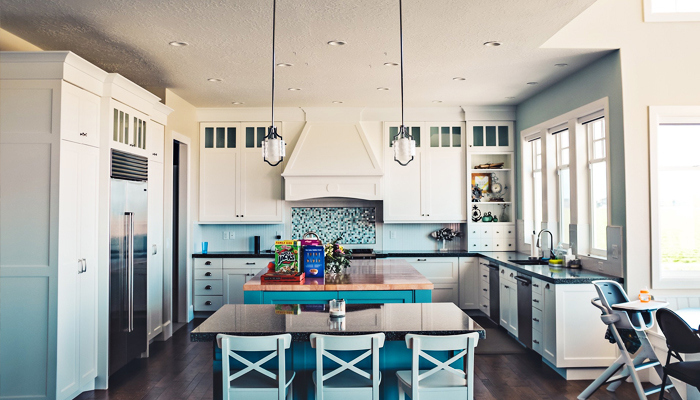
Over here, we’ll be discussing five DIY kitchen projects with varying difficulty levels, offering information on materials, as well as the necessary steps to take in their creation. They are ranked depending on their difficulty level, from beginner to expert and a few intermediates sprinkled in between. In this way, there’s something for everyone to try out.
#1
Hang a Cup DIY
Category: DIY coffee cup hanger
Location: in the kitchen
Time Estimate: about 5 minutes
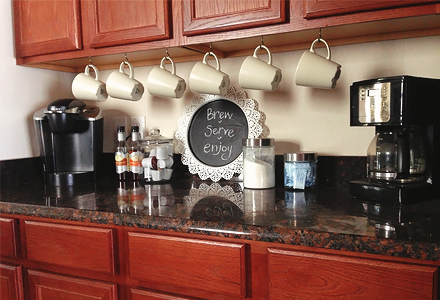
If you’ve ever been wondering how to hang coffee mugs under a cabinet, this is one of the simplest DIY kitchen projects to pursue. It can be used for decorative purposes, or you can simply hang some cups from there to clear cupboard space and organize your space more efficiently. And the best thing about it is that it’s done in no more than five minutes.
Steps to Take in Making a DIY Coffee Cup Hanger
1 The first thing you need to do is punch a number of holes on the underside of your kitchen cabinets or shelves. This will depend on how many cups you want to hang.
2 Use the wood hole punch for this. If the surface is denser, drive a hole through it using a nail and stop when needed.
3 Take one cup hook and screw it in the hole with its sharp side.
4 Use the pliers to secure into place.
5 Repeat the steps above as many times as needed, until your DIY hanger is complete. Hang your cups from it, and enjoy!
#2
Stainless Steel or Ceramic Backsplash DIY
Category: DIY kitchen backsplash
Location: in the kitchen
Time Estimate: about an hour
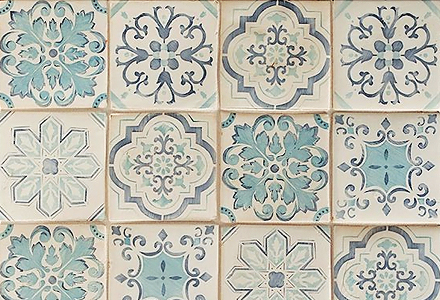
Adding a backsplash to your kitchen walls doesn’t only enhance the aesthetic of the room, but it also reduces tidying up time by a lot. For this reason, the perfect place to start this project is behind the stove. While ceramic tiles certainly add a unique Mediterranean touch to the room, a stainless steel panel is a lot easier to install and clean.
List of Materials
Steps to Take in the Making of a DIY Stove Backsplash
1 Sand down the wall with a coarse sanding sponge, then clean thoroughly with the rag to prep for the task ahead.
2 Measure the space you are working with and cut the tiles accordingly, if needed. If you opt for the stainless steel backsplash panel instead, ensure that it is cut to size prior to purchasing it.
3 Slip the jars inside the clamps and tighten them into place.
4 Take your tiles and apply them to the backsplash of the stove, securing them into place with caulk.
5 Alternatively, secure the stainless steel panel with a similar technique.
6 Allow a few hours for the caulk to dry, then clean everything one last time.
#3
Tile the Stove Overhead Hood DIY
Category: DIY stove hood
Location: in the kitchen
Time Estimate: about an hour
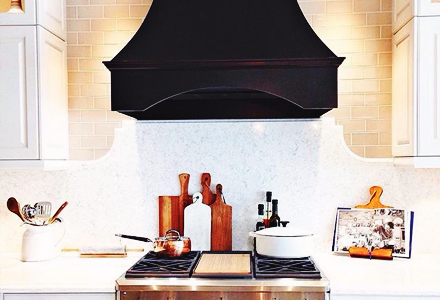
This addition to the list of accessible DIY kitchen projects is ideal for the crafty homeowner who has simply grown tired of looking at a plain stove overhead hood every day. Add some colorful touches to this often ignored part of the kitchen. If you can match it up to the tiled backsplash, that will look even better.
List of Materials
Steps to Take in the Making of a DIY Stove Hood
1 Start by cleaning the overhead hood of the stove thoroughly to remove any residue.
2 With the ceramic tiles measured and cut to size, secure them into place using the caulk.
3 Allow for at least six hours to dry. If possible, don’t use the stove for the rest of the day to give the adhesive resting time overnight.
4 Clean the surface one last time to remove excess caulk. You are now ready to start cooking on your revamped stove.
#4
DIY Placemats
Category: DIY placemats
Location: in the kitchen
Time Estimate: about two hours
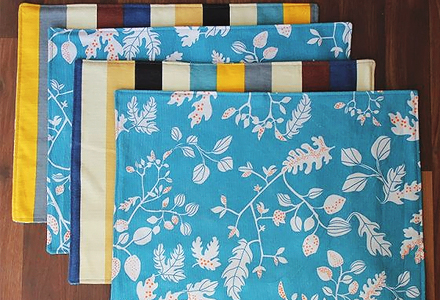
Do it yourself placemats are one of the most colorful and entertaining DIY kitchen projects to pursue, as they involve working with fabric and letting your imagination run wild.
List of Materials
Steps to Take in the Making of DIY Placemats
1 Cut each large piece of fabric into six smaller pieces that have the same size. They represent the two sides of our placemat. You can use different patterns to make it reversible.
2 Iron the two sides of the placemat, then put them on top of each other with the exterior side facing inward.
3 Start sewing, but remember to leave a small gap to turn the placemat inside out, or outside in for this particular situation.
4 Once you turn it, sew the remaining gap.
5 Iron the placemat, then repeat the process for the remaining five.
#5
Glass Cabinet Doors DIY
Category: DIY glass cabinet doors
Location: in the kitchen/in the bathroom
Time Estimate: half a day
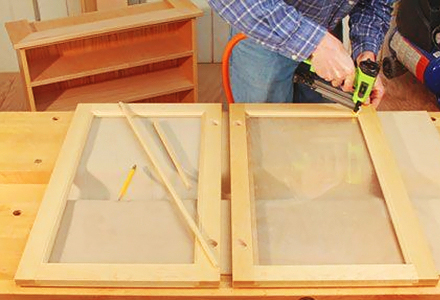
Knowing how to change kitchen cabinet doors entails solid carpentry skills, but if you are up for the challenge, the result will be worth the effort. Replacing old and boring wooden panels with glass can give your kitchen a much-needed boost into modernity. And the best part about this project is that you can pursue it in other rooms too, such as the bathroom for instance.
List of Materials
Steps to Take in the Making of DIY Glass Cabinet Doors
1 Detach the cabinet doors from their hinges using the screwdrivers.
2 Remove the inner wood panels with the help of the wood prybar and nail puller hybrid tool.
3 Take your precut glass and drop it into place inside the remainder of the cabinet door frame.
4 Secure it in the right position with clear silicone caulking.
5 Pro tip: lick your finger before the caulking evenly. This will prevent the glue from sticking to your skin, making cleanup easy-peasy.
6 Allow the cabinet door at least six hours to dry so that nothing is loose in there.
7 Put the revamped door back in its place using the screwdrivers, and you’re done.
Gathering Everything Up, Letting Our Creativity Loose
Choosing a personal favorite from this list of DIY kitchen projects was hard, but I’d have to say that I enjoyed creating the DIY placemats the most. Sewing is the most exciting part of handmade crafts for me, as I love working with color and fabric. What was your favorite from this top five? Try it out in your kitchen today, and let us know.

