7 Creative DIY Decorating Ideas (with Instructions)

5 Cool DIY Weekend Projects (with Instructions)
October 26, 2018
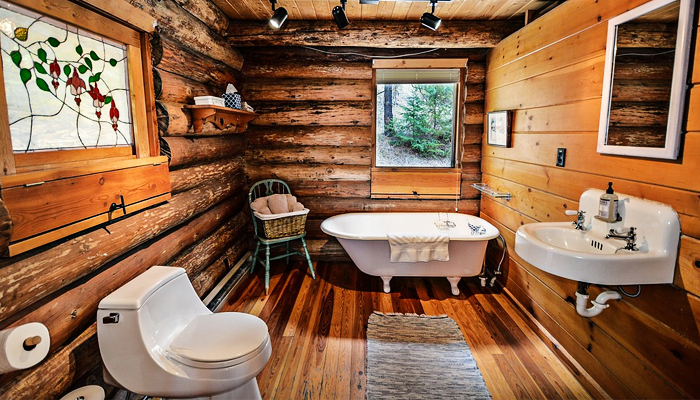
5 Best DIY Bathroom Decorating Projects (with Instructions)
November 29, 20187 Creative DIY Decorating Ideas (with Instructions)
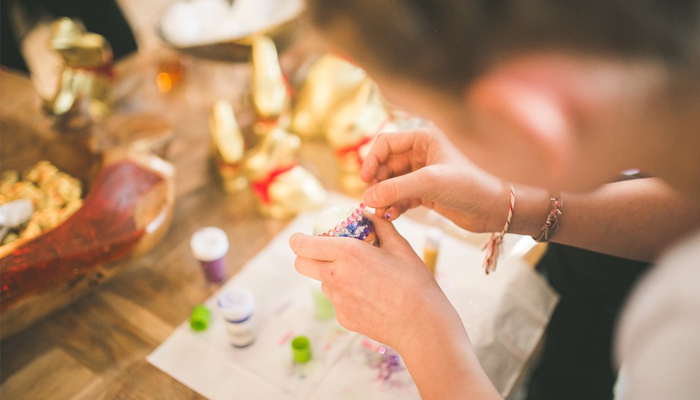
In this article, we will present five creative DIY decorating ideas complete with images, videos, material suggestions, and step by step indications on how you can make them.
The great news is that every single craft on this list can be completed by beginners, so anyone can easily give them a try regardless of their skill level. Even the intermediate-grade ones are quite simple, so don’t let them scare you away, even if you’re just now getting the hang of DIY-ing!
#1
Light Switch and Outlet Covers DIY
Category: DIY light switch covers/ DIY outlet covers
Location: Every room in the house
Time Estimate: Under 15 minutes

Adding decorative stickers, fabric, or paper onto an old light switch or outlet cover is a quick and inexpensive way of personalizing the appearance of any room. The most entertaining part of this type of project is that you can easily play around with colors and shapes, mix and match designs, and just let loose to achieve a creative finish result.
List of Materials
Steps to Take in Making DIY Light Switch and Outlet Covers
1 Safely remove the outlet or light switch cover from its socket and give it a thorough cleanse with a dampened rag.
2 Depending on your choice of material, take a piece and measure it to size.
3 Cut the piece of sticker, fabric, or paper according to what will be its end dimensions.
4 Apply it to the plate using Elmer’s glue.
5 Smooth out any air bubbles before allowing it to dry for at least six hours.
6 Pop the outlet or light switch cover back in its socket and enjoy your revamped wall accessory.
#2
Hide Electrical Cords DIY
Category: DIY electrical cord cover
Location: Every room in the house
Time Estimate: Under 5 minutes

Have you ever wondered how to protect electrical cords, while ornamenting them at the same time? Then you’ve just found an answer in one of the simplest creative DIY decorating ideas that will take less than five minutes of your day. It is an excellent way of enhancing the appearance of any room while increasing its safety as well.
List of Materials
Steps to Take in Making DIY Electrical Cord Covers
1 Measure the full length of the electrical cord you want to cover.
2 Cut out the necessary amount of fabric, leaving an extra half inch for the sewing part.
3 Sew the cover together to create a snug fit.
4 Clothe the electrical cord to protect it and prevent tripping.
2 Cut out the necessary amount of fabric, leaving an extra half inch for the sewing part.
3 Sew the cover together to create a snug fit.
4 Clothe the electrical cord to protect it and prevent tripping.
#3
Decorative Tray DIY
Category: DIY wood serving tray
Location: Any room with a table in it
Time Estimate: Between 30 minutes and 2 hours

Creating an ornate tray with the help of a mirror and a wooden drawer is a hassle-free way of displaying various bric-a-brac on your coffee table. It can also help keep them in order, as they might have otherwise caused clutter, and makes them easier to move. Keep your elegant embellishments organized while adding a personal touch to the room too.
List of Materials
Steps to Take in Making a DIY Decorative Tray
1 If you don’t already have a mirror and some old, unused drawers somewhere in the house, then scout dollar stores for inexpensive alternatives.
2 Once you have all the materials, glue the mirror inside the drawer with the reflective side facing up.
3 Allow the glue some time to dry before incorporating the finishing touches.
4 Add decorative items to your new tray, for example, flower pots, candles, magazines, ceramic ornaments, or anything you'd like, really.
#4
New House or Mailbox Numbers DIY
Category: DIY house numbers
Location: Mailbox or front door
Time Estimate: Under 15 minutes

Next on our list of simple and creative DIY decorating ideas is a house or mailbox number refurbishing plan. There are multiple options available in this case and they depend on the degree of difficulty you are willing to take on.
The course of action and steps you’ll have to take will differ based on the type of numbers you choose to DIY on your front door or mailbox.
List of Materials
Steps to Take in Making DIY House or Mailbox Numbers
1 As a universal first step, measure and mark the exact position of the numbers with a ruler and pencil.
2 Stickers are the easiest alternative, as all you need to do is adhere them to the desired surface. However, they will also be the quickest to deteriorate or peel off.
3 Brass numbers are an elegant and more resistant option. You will need to screw them into the wall, door, or mailbox carefully and securely with a screwdriver.
4 If you are feeling artistic, use spray paint and number stencils to paint your own numbers in your favorite color. You can also try making patterns, and generally play around with this method.
#5
Wooden Blanket Ladder DIY
Category: DIY window shades
Location: In the bathroom, bedroom, living room, hallway
Time Estimate: Under 30 minutes

Are you looking for a creatively rustic way of organizing your towels or blankets? Well, now you can effortlessly achieve this with an old ladder and a couple of layers of paint. Add some Old World charm into your home with this unpretentious project that is also fairly simple to make and won't take up much of your time.
List of Materials
Steps to Take in Making a DIY Wooden Blanket Ladder
1 Take the old ladder and give it a fresh coat of paint.
2 Let it dry overnight.
3 Apply sealant to strengthen the resistance of the piece.
4 Place your blankets and/or towels on the ladder's rungs.
2 Let it dry overnight.
3 Apply sealant to strengthen the resistance of the piece.
4 Place your blankets and/or towels on the ladder's rungs.
#6
Front Door Coat of Paint DIY
Category: DIY paint job
Location: The front door/other doors in the house
Time Estimate: Under 30 minutes
Revamping the front door of your house with a fast paint job will surely turn some heads in the neighborhood, especially if you opt for a vivid color. This centerpiece of all creative DIY decorating ideas will help you refresh the appearance of the entire house, and all in less than an hour!
List of Materials
Steps to Take in Painting Your Front Door
1 Take the door out of its hinges and start working in a dry room with little or no foot traffic.
2 Cover the floor with plastic foil to protect it from any paint splatters or other such mistakes.
3 Give the door a good sanding down to remove any paint chips and other irregularities on its surface.
4 Grab your can of paint and the paintbrush and start coloring inside the lines.
5 Don’t go over the same spot too many times to avoid clumping.
6 Allow the freshly painted door to dry overnight.
7 Apply sealant and once again let it dry to prevent weather damage and wood decay.
#7
New Window Shades DIY
Category: DIY window shades
Location: Any room with a window
Time Estimate: Under 30 minutes

Nothing dulls down more a room than antiquated and dreary window shades. Press the refresh button on your living space by changing that old set with a new one. The installation process is simple enough, and there are plenty of shade options to chose from on the market.
List of Materials
Steps to Take in Making DIY Window Shades
1 Measure the new window shades to size to once again make sure they fit the frame.
2 Remove your old window shades from their hinges.
3 Make all necessary adjustments, but be careful not to damage the pre-existing structure.
4 After you've made sure that your window shades fit and match, install them into place.
2 Remove your old window shades from their hinges.
3 Make all necessary adjustments, but be careful not to damage the pre-existing structure.
4 After you've made sure that your window shades fit and match, install them into place.
Gathering Everything Up, Letting Our Creativity Loose
By far, our favorite handmade craft on this list of creative DIY decorating ideas was the wooden blanket ladder project. Our team members are huge fans of rustic decorations, and the fact that this particular one was so easy to complete is certainly a huge plus.
What is your top pick? Let us know and don't hesitate to share your progress with our community.